Many of us have Visual Studio subscription (formerly called MSDN subscription) and there is monthly Azure credit coming with it. It could be used to spin up D365O demo VM, but the whole process is not straightforward. I would describe it step by step today.
- Activate monthly Azure credit. You will get an email with subscription id after completion.
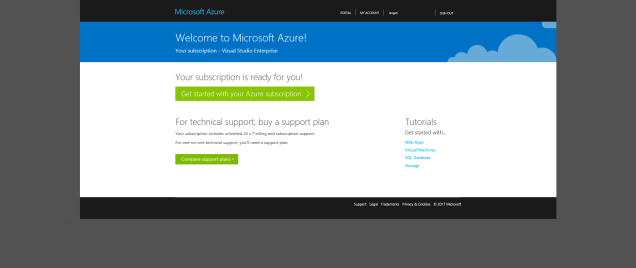
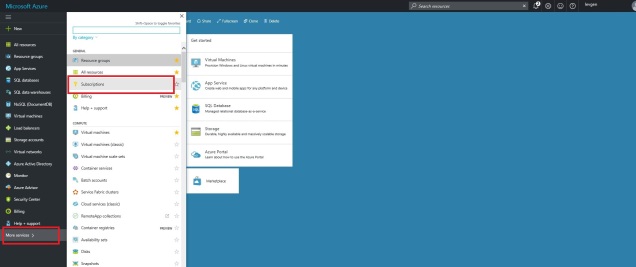
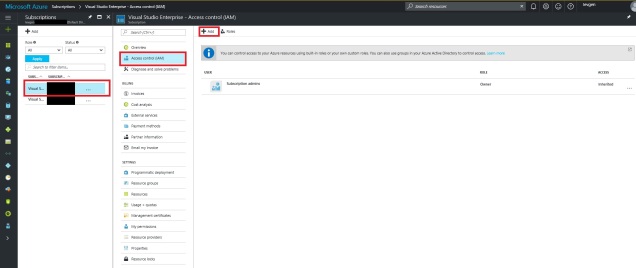
- Go to Azure portal where you can check details of new subscription.
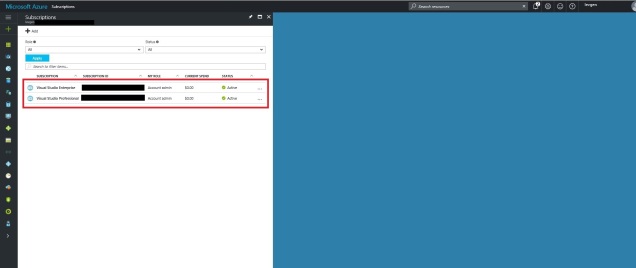
- Different types of subscriptions give you different amount, enterprise is the best (but costs a lot) and gives you 150$ monthly credit, that is enough to run D12V2 VM for 235 hours per month.
- With new subscription you get new tenant. Now we need to activate D365 trial on this tenant. That’s a mandatory step for ARM onboarding. Existing customers can follow steps on the customer source to request access via email. Partners can find details on the partner source , you have 2 options there: request new tenant with trial or activate trial on existing tenant. We will activate trial because we already have a tenant with subscription, but it’s possible to transfer subscription to new tenant as well.
- To activate trial on existing tenant
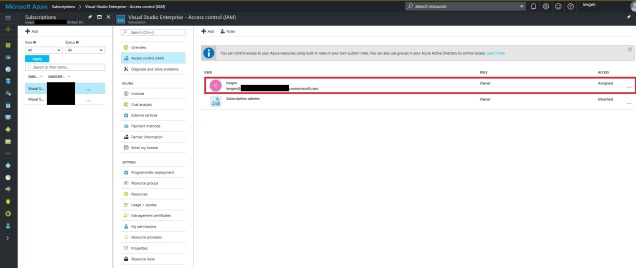
- Create new user .
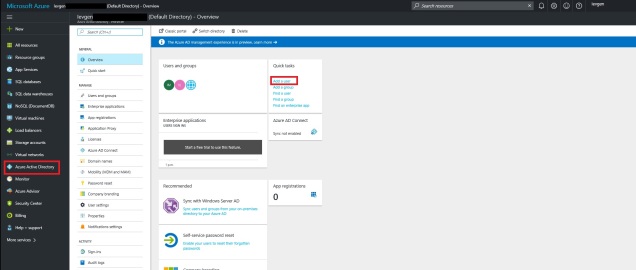
- Make new user Owner of the subscription
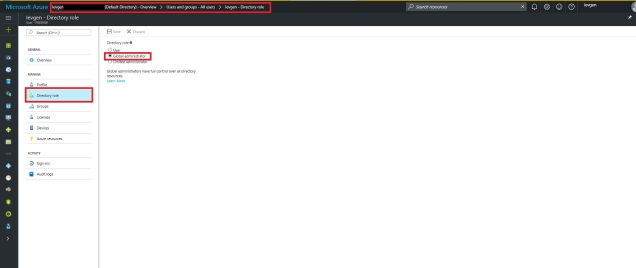
- Make new user Global admin of Active Directory.
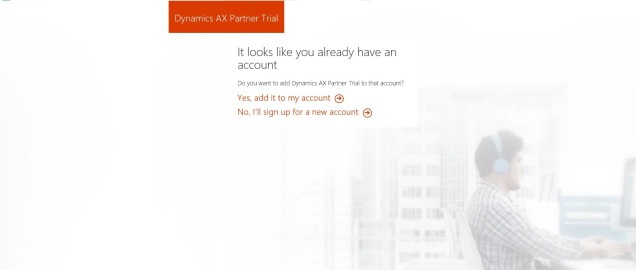
- Follow a link to trial offer from partner source article. You need to login using credentials of newly created user.
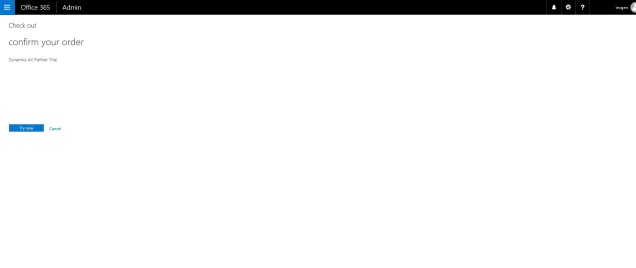
- Create new user .
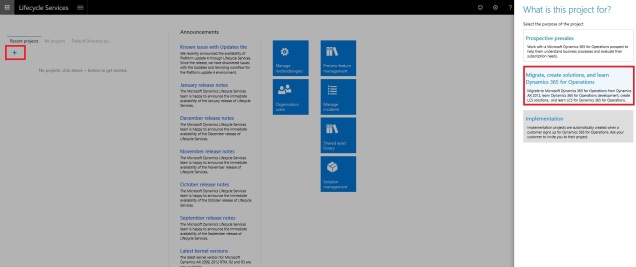
- No we are ready to create new LCS project. Go to LCS and login using user created on step 4.
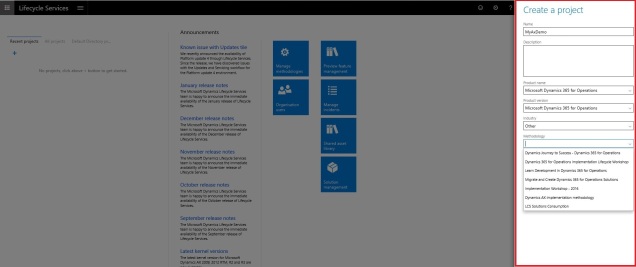
- Fill all the details required: Version of AX, project name and methodology.
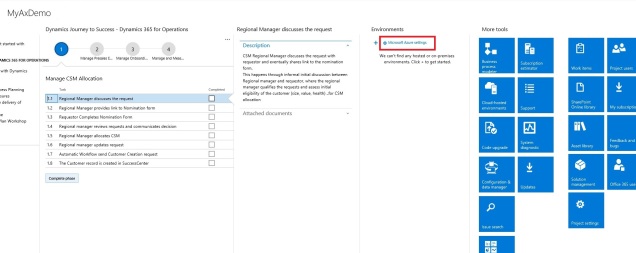
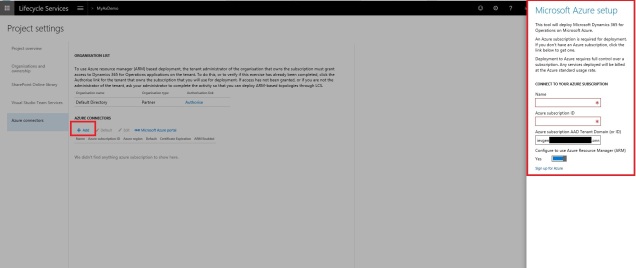
- Setup connection to Azure.
- In the organizations list you will see tenants of project users. You can invite users from different tenants to a project and you will see their organization in the list as well.
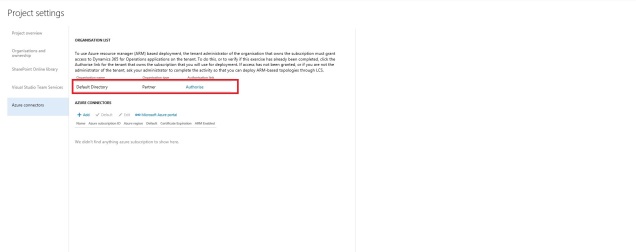 Current user should be administrator of the tenant to complete authorization.
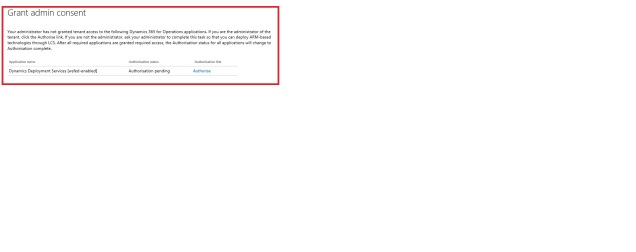
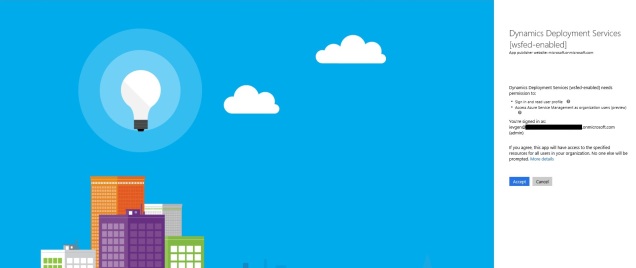
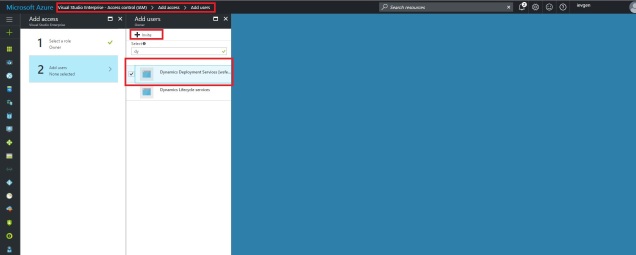
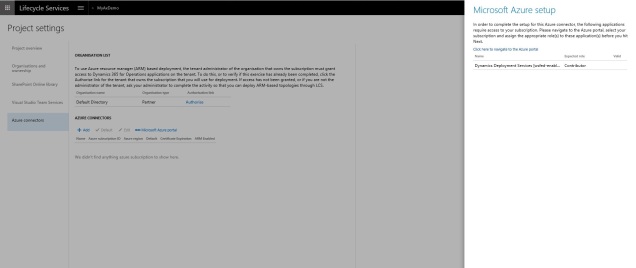
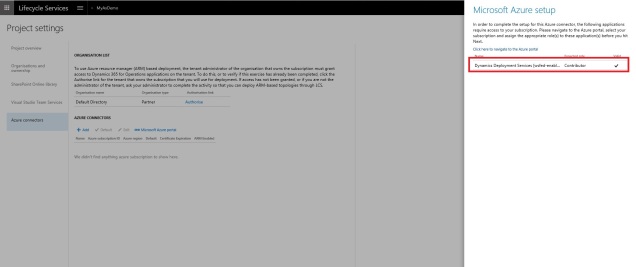
- Add Dynamics Deployment Services [wsfed-enabled] to the subscription
- Setup Azure connector. Check “Configure to use Azure Resource Manager” checkbox or you won’t be able to deploy any VM starting from Update 2. Azure Subscription Id and tenant name could be found on Azure portal.
- For ARM deployments we don’t need to download any certificate, so just click “Next” on this step.

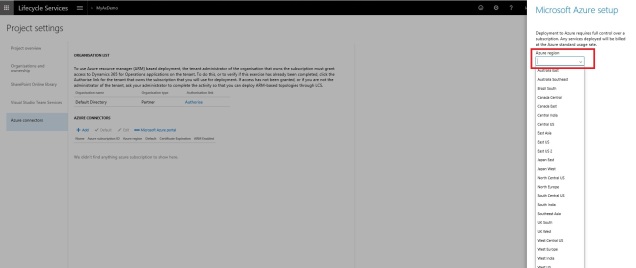
- Select Azure region. Please note that not all regions are available for Visual Studio Subscriptions. If you select wrong region you will have to create new connector with another region because all deployments would fail.
- Deploy new Demo VM
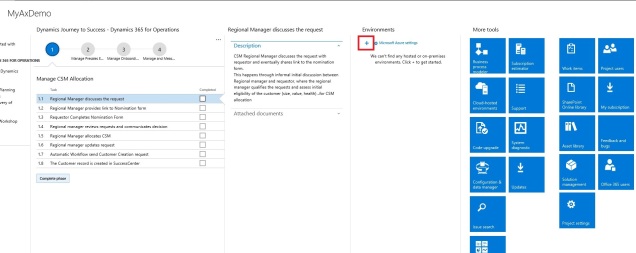

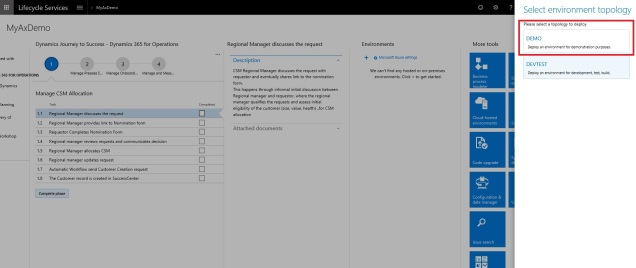
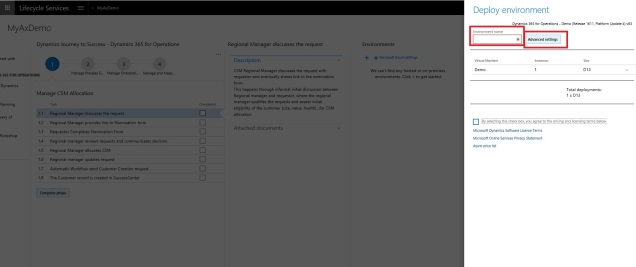
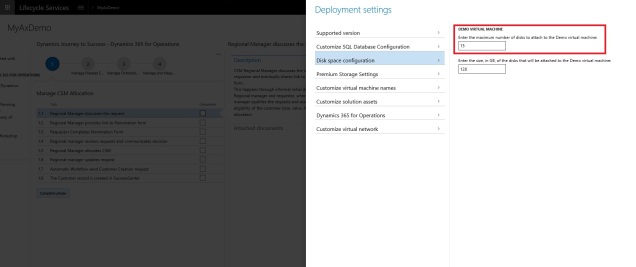
- Enter VM name and go to Advance settings
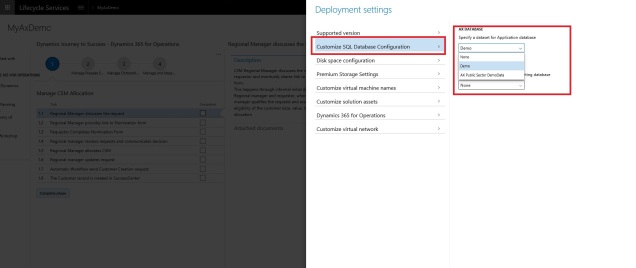
- Select demo data package or “None” for blank environment. Here you could select demo data from ISV partners as well if they shared it with you.
- Select number of disks. Select 7 if you want to scale it down to D12V2 later, otherwise you would have to manually delete them, that is not an easy task, because it’s not possible to change size if target VM has different disks configuration.
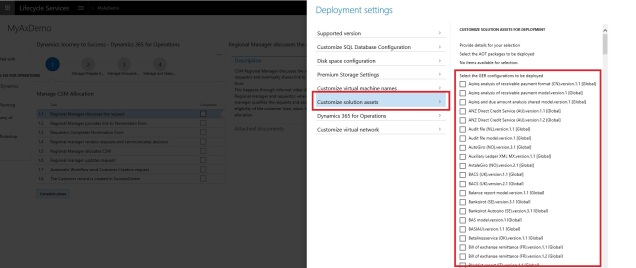
- Select GER configuration to be deployed. You can deploy any later from assets library if you missed this step.
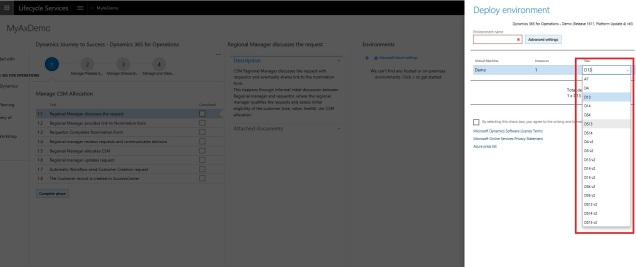
- Select VM size. Different sizes have different hardware configuration and costs. To find costs you can use Pricing calculator. I prefer to use D13V2 and D12V2 because I think they have best price–performance ratio.
That’s all. Usually deployment takes up to 5 hours. Don’t forget to setup auto shutdown to save your costs!

Hi Ievgen,
I was exactly doing the same thing before you wrote this post but I had some issues. There seems to be a delay between authorizing the tenant and being able to create the connector with succes. And now a few days later my connector seems to be “disconnected” again. I’ve logged an issue for this but I wonder if you have had the same issues?
Kind regards,
Kevin
Hi Kevin,
I was able to do it right after authorization without any delay. However, I remember other day I had some errors on connection creation, without any details just some random id and it was connected to LCS issue, so when I tried next day everything was ok. What error do you have?
Hi Ievgen,
Thanks for the reply. I’ve logged a ticket with MS support and there where issues that the with the LCS Azure connector. Everything is running fine now. The error I had was also one without details.
Hi Ievgen
Can you confirm which subscription for Azure is atleast required to create demo environment.
Thanks
Haroon
You can use any. It could be Pay as you go, CSP or Enterprise. However, your tenant should have D365FOE trial activated.
Is it posible to create an environment with Azure SQL (Tier 2) ?
As far as I know, you can only buy it as an Add-on